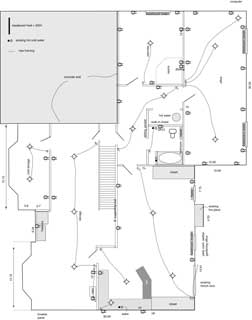
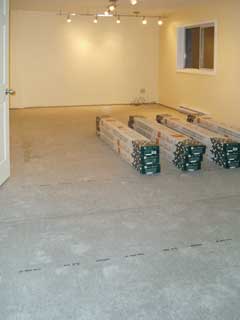
It all began with a plan . . . to finish the basement where there weren't even walls . . . So after designing the rooms . . .
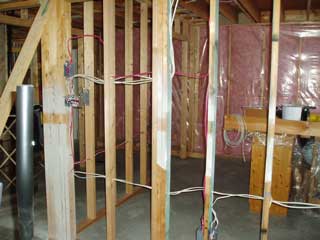
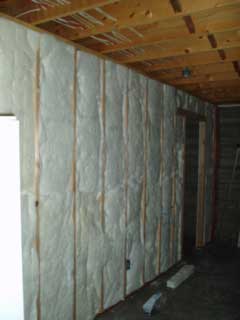
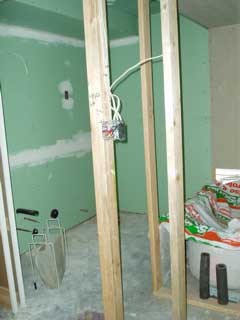
I began framing the walls. I had already insulated the outside walls, but added further insulation where there were concrete walls (as in the back of this photo). Kendra Bouttell, a professional electrician, did the wiring of the entire basement.
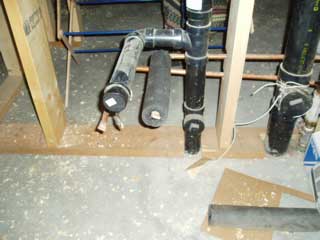
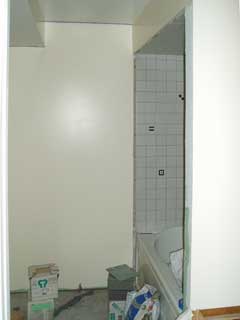
The plumbing was roughed in, but a bit crooked wherever I looked--astonishing given the guy who built the house had done it for himself, it had been his and his wife's dream house
I added the insulation for heat, here the cold storage, or sound, throughout the ceilings
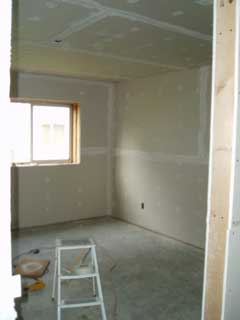
Then I began hanging the drywall, here in bath; the plumbing visible in the photo above right has disappeared
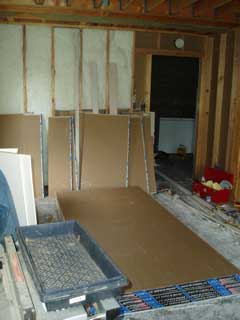
For a while, there was drywall everywhere, and, with it, indominable dust

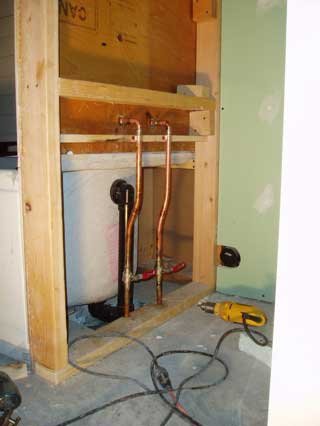
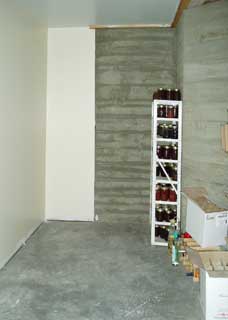
The walls begin to fill in; here it is a walk-in closet also holding the hot water tank
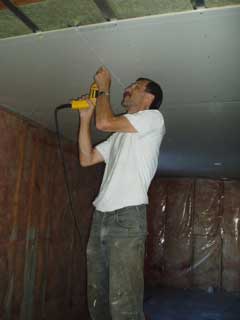
Drywall is hung on res-bars; the sound insulation against air transmission is visible behind
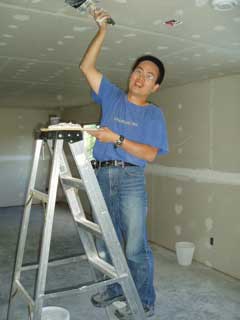
My "helper" Winner is placing a first layer of mud; I gave him the nickname "King of Mud"
The "gym" with a first coat of mud
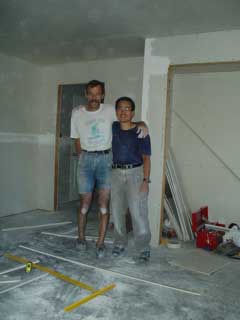
Winner and I are posing for a moment in the "big room," which will be a guest (party) room with wet bar and a fire place.
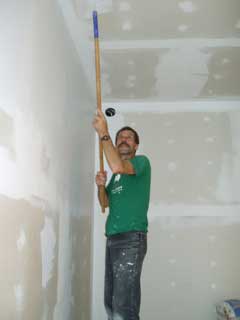
I am in the process of putting the drywall sealer on, though Winner did most of it in the gym today.

We also put in the window finishing--which I fashioned from 12''-pine boards over the weekend and then sealed with primer: It begins to look like a real room--just compare to the photograph above featuring the same wall but the other side.
A new significant step has been made with the completion of the bathroom pluming. My neighbor Wally did the soldering and I put in the ABS pipes.
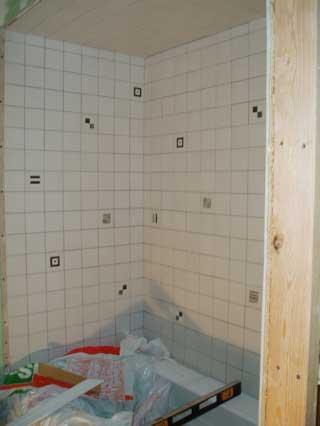
This week I also completed putting the tiles around the bath tub and at the ceiling above the tub.
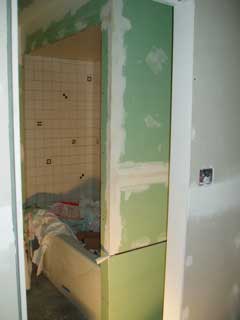
Another day, and a little more progress. Here, the bathroom plumbing has disappeared behind gyprock and I have begun to finish the wall with mud. The bottom will constitute a removable panel so that I can access the plumbing. (See one row above)
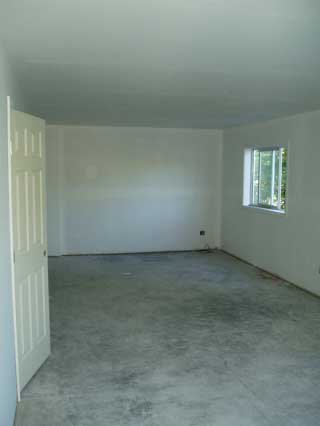
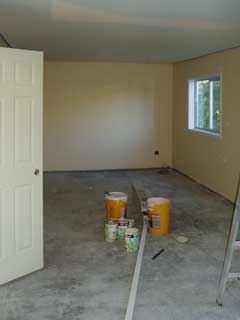
My future office has been primed, the window trim has been installed, and it now is ready to be painted. The room is 30' x 12' and, using open shelves, will be divided in a ratio of about 2:1 to yield a larger space for books and desk and a smaller meeting space.
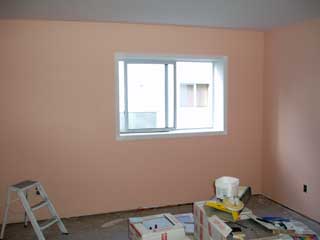
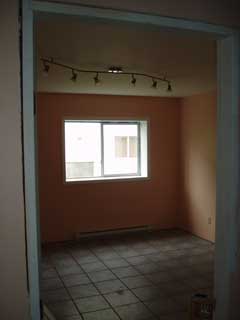
The "gym" is the first room to be completly painted, ceiling and wall that is. The room now is ready to receive its flooring, which I hope will happen next week once the other rooms have been primed or painted. Following Sylvie's wish, we chose peach, which goes really well with the floor tiles, largely bluish with some peach tints.
I have made significant progress and now finished painting the bathroom.
The future office, too, has two coats of paint, though the yellow is much deeper here than in reality.
This is the future root cellar, which has been painted and cleaned up a bit.

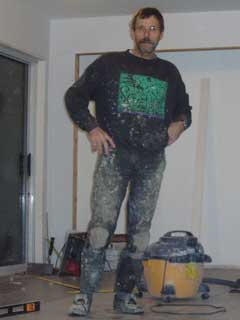
In my "combat" clothing. I guess it was dusty, and the camera lens picked up a bit to render such a "soft" image.
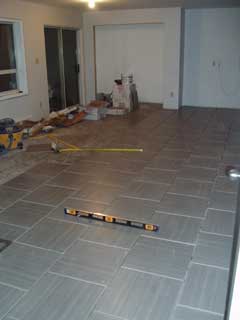
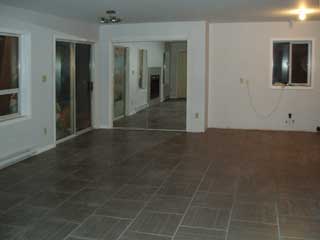
This weekend, I made some major advance by laying the ceramic tiles in the "gym" and hallway (which goes around the corner before the gym). Friday, Winner helped me snap the lines and we put down tiles for 2 hours. Saturday I worked all day, in the afternoon with Winner. I finished the last little bit on Sunday between 11am and 1pm.
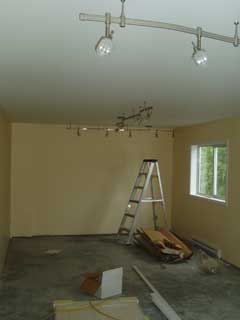
Today I installed the track lighting; also visible is the heater that Kendra installed yesterday. She is going to finish this week, and then we get the electrical inspection done. This will be another milestone.
The track lighting in the "gym" in a "contre jour" photo. Tomorrow, I will grout the tiles and then the trim can be placed and the sauna moved.
Another day, another big step. I did the grouting in the gym and put down the baseboards. Winner came after work to help me move the sauna into its new place.
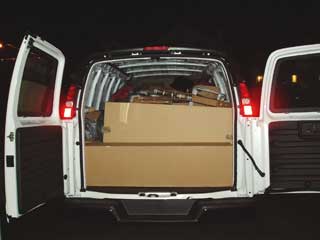
Titin and I have been hauling ALL building materials from the various stores back home and then downstairs, sometimes through the house, sometimes around. Here a load of bamboo flooring for my office.
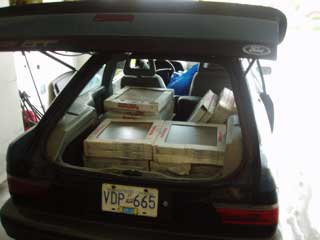
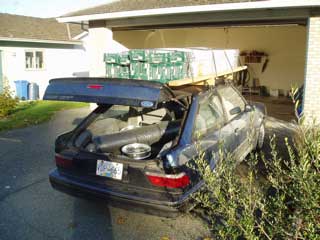
Hard to imagine, but I have loaded here around 600 kilograms (over 1,300 pounds) of tiles and ciment. The shocks were close to the bottom, and the one pothole I hit led to a big thump when the shocks hit the end.
Another view of the load, ciment on the passenger seat. Each bag weighs 50 pounds, and the double package of tiles weighs 40.4 kilograms (about 90 pounds).
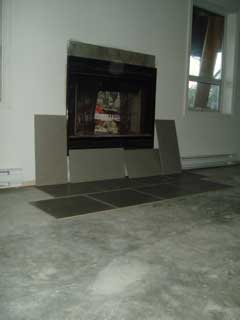
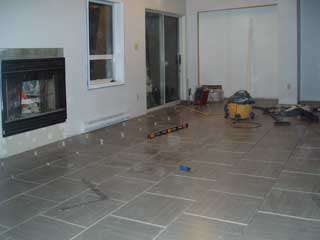
I am trying out what the fireplace will look like once finished with the grey tiles (12 inch by 24 inch), and the square tiles on the floor.
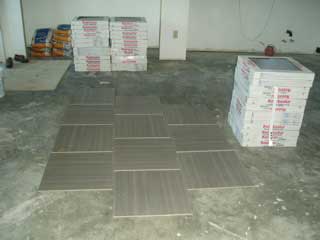
I am trying out some different ways in which these tiles can be laid, some much more interesting than others. Sylvie and I look and look and look at it under different lighting conditions during the day, at dusk, and at night.
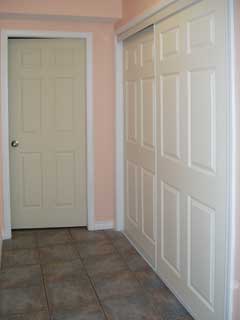
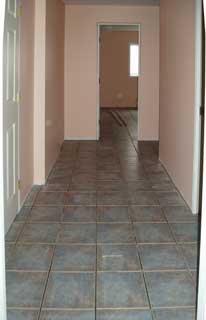
The part of the hallway to my office, the hot water heater is in the walk-in closet on the right. There is enough space to store some towels.
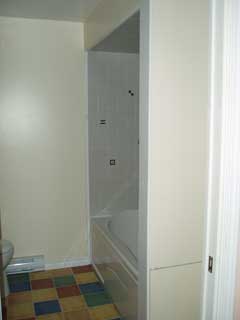
The bathroom is nearing completion. Here as seen from the hallway in direction of the tiled bath enclosure.
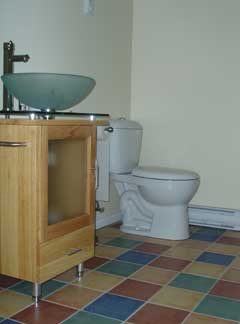
Vanity, eco dual-flush toilet, and a good view of the floor in almost natural colors. (Pretty different from the two bathroom photos in the first two rows above, isn't it?)
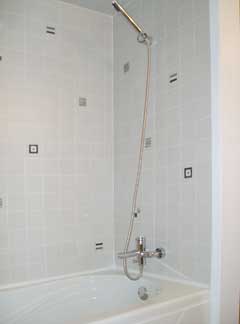
A look at the low-flow spout and shower.
Today I glued down the Durason underlay in my future office and placed the bamboo flooring in its packaging to acclimatize there for a couple of weeks, as per instruction of the person at Home Depot who sold me the materials and who had trained all their professional floor installers.
I am in the middle of putting down the ceramic tiles in the "big room." The tiles are displaced from one row to the next, and adjacent tiles in the same row are turned 90 degrees to make for a more interesting pattern.
In "combat fatigues" while doing the tile job in "the big room." The knee pads protect really well. As I know from experience, being on the knees for a few hours on the cool (15 °C) concrete floor can do quite a bit of harm to the joints.
I am almost done with the big room, just a few tiles in the far corner where the remaining tiles sit, and then the tiles around the fire place. I hope to be able to complete both jobs tomorrow.
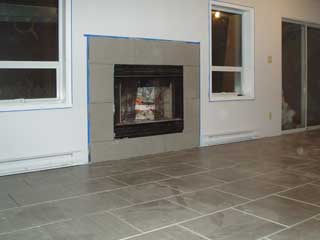
One day later, the floor is finished in front of the door and the fire place has received its surrounding; it and the floor remain to be grouted.
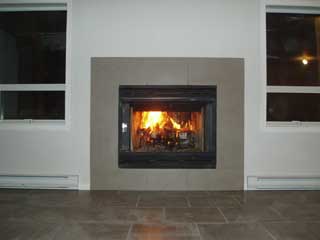
I have made another big advance in finishing the grouting of the floor and doing some of the trim, and I have tried out the fireplace with its tile surrounding that almost looks like concrete.
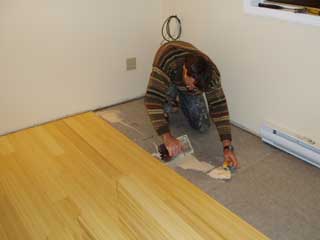
I am in the process of laying the bamboo floor in my future office. Here I am spreading glue, which holds the bamboo flooring down on the underlay.
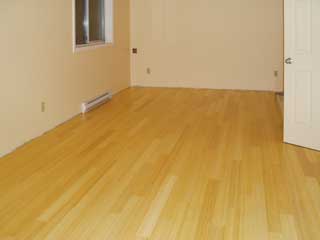
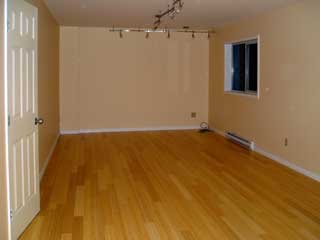
The finished floor, without the baseboards, which I will install over the next few days.
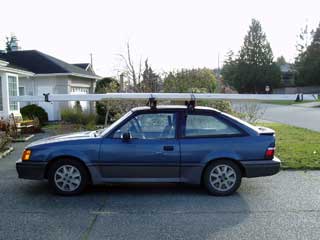
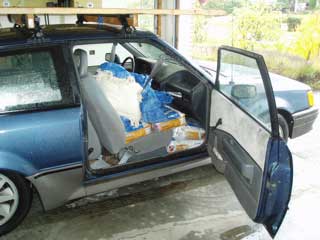
Titine, my car, has brought home another oversize load. The baseboard come in lengths of 16 feet, much longer than titin itself.
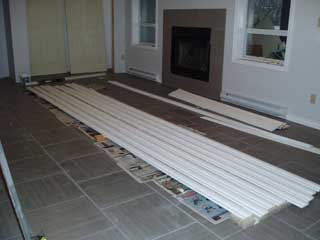
The baseboards are painted before I saw them to size so that I only have to refinish the nail holes. In the back, one can see the doors for the closet waiting to be installed.
Another day and another step forward. Here the office with the baseboards installed.
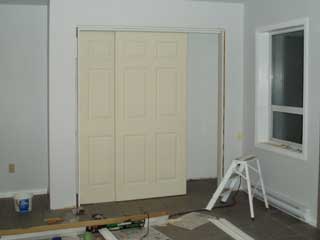
In the big room, I have begun the baseboard and trims, and also have begun to hand one set of doors for a closet. The other side of the room will feature mirror doors. The work requires a lot of fiddling to shorten the doors to size, hanging them individually, aligning the posts and the doors, etc.
I finished with the big room with the installation of the mirror door for the closet next to the entry from the garden. To the right will be the kitchenette.
We have rented a van to go to IKEA in Vancouver, and here we are back with a ton of stuff for our new rooms.
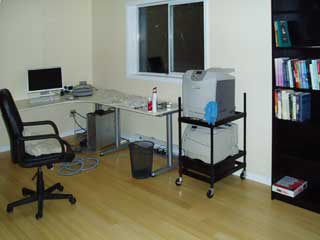
I have started moving into my new office. I still need some blinds, but I am writing this note from the computer visible in the photograph.
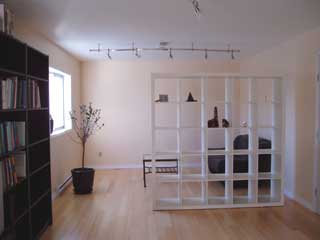
This is the meeting side of my office, a wide free-standing shelf separating the two parts. Eventually, I will inherit my old lether love-seat and chair, which will complete this sitting area.
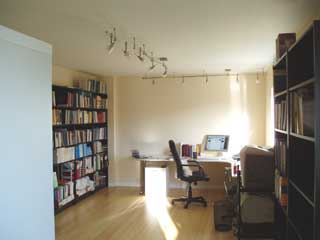
This is the desk and bookshelf part of the office (divider and bookshelves visible in left photo are here left and right front). This is 10:15 a.m. and one can see that it is a very bright and inviting room.
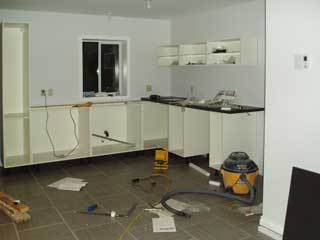
I am in the process of installing the kitchenette. Even though it is from IKEA, a lot of thinking and leveling . . . has to be done to get it right.
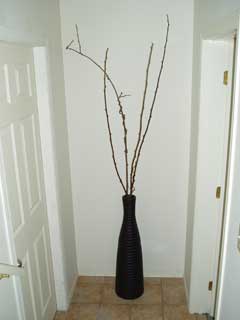
A little accent in the stairway from the lower level of the house to the upper level. To the right, the door into the rooms, to the left, the door to the storage area and the insulated cold storage (cellar).
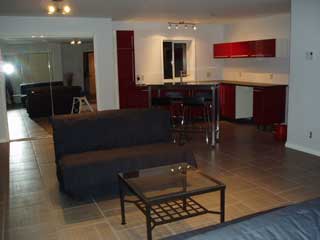
A few of the bachelor-style suite. The under-the-counter fridge is still missing and I need to install the trim above the counter.
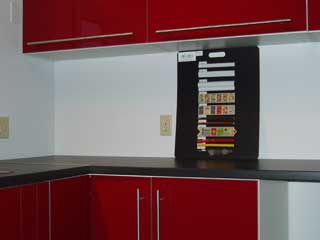
Detail of the kitchenette, where we are in the process of testing some trim samples. I cut the samples, paste and multiply them, and then Sylvie will have a better idea of what it will look like in the end.
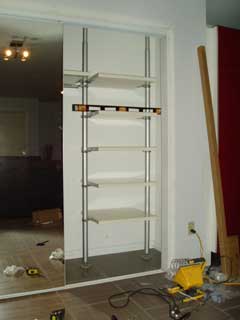
I am working on the inside of the closets with a system from IKEA.
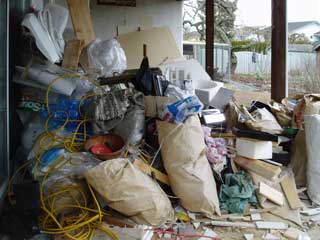
I produced a lot of garbage while constructing. Now I have to sort through this all for recycling to end with an ecological footprint that is as small as possiible.
My office is taking shape, here the seating area with a painting I made and the separating shelves that are filling up.
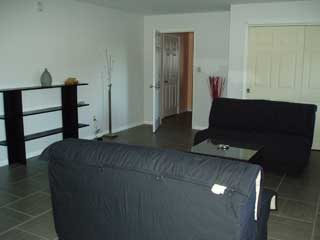
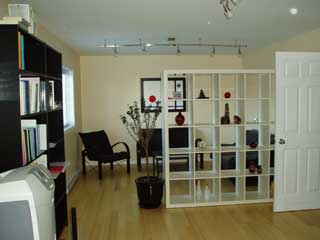
The apartment is shaping up as well, I made the shelf a long time ago but now painted it black. Some lamps and other decorations are there as well.
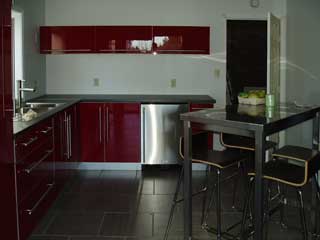
The kitchenette is almost done, but the tiles to finish the wall above the counter top (just a narrow strip) are still in Italy.
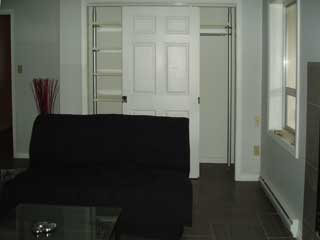
The "apartment" closet facing north is painted, and the interior shelving units that we bought at IKEA's are shown.
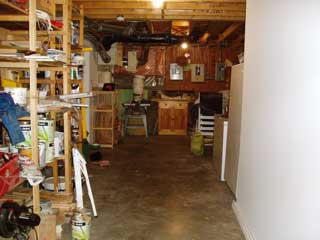
A look southward in the storage area, with deep freezers on the right. The white wall separates the root cellar. In the back are the cabinets for garden and shelf for chiicken-related stuff.
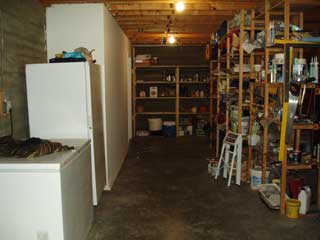
A look northward in the storage area, the freezers are on the left now. On the right and in the back the shelves for storing tools and materials (right) and food (back). The wall to the root cellar is white, on the left.
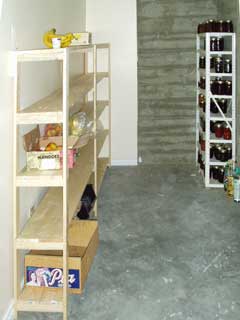
The "root cellar" is completely underground and relatively cool We hope this stays so in the summer, too. I built some shelving (left).